
Setup ESLint & Prettier in VS Code
Introduction to Linting, ESLint, and Prettier
Linting is the process of analyzing code for potential errors, bugs, and stylistic issues. It helps maintain a consistent code style, improves code quality, and catches common mistakes early in development. Two popular tools for linting modern web development code are ESLint and Prettier.
What is Prettier?
Prettier is a code formatter that focuses on code formatting and style consistency. It automatically formats your code according to predefined rules, making it more readable and eliminating debates over code style.
A code formatter is primarily concerned with the visual appearance and consistent code formatting. It automatically analyzes the structure of the code and applies predefined formatting rules to ensure a uniform style throughout the codebase. Code formatters focus on aspects such as indentation, line breaks, spacing, and the placement of braces and parentheses. The goal of a code formatter like Prettier is to standardize the appearance of code, making it more readable and enhancing code consistency within a project or team.
What is ESLint?
ESLint is a linter that allows you to define custom linting rules and enforce coding standards. It helps identify and fix potential errors, enforces consistent coding styles, and promotes best practices in your codebase.
A code linter goes beyond code formatting and focuses on the correctness, quality, and potential issues within the code. Linters analyze the code for potential errors, bugs, stylistic inconsistencies, and violations of coding standards and best practices. They check for issues such as unused variables, missing semicolons, incorrect function usage, possible memory leaks, and adherence to coding conventions. Code linters like ESLint provide warnings, errors, or suggestions to developers about problematic code areas, helping them identify and fix potential issues early in the development process. By enforcing consistent coding styles and detecting errors, linters improve code quality and maintainability and reduce the likelihood of bugs.
Best of Both Worlds
Combining ESLint and Prettier in your development workflow can greatly improve code quality, maintainability, and collaboration within a team. ESLint ensures your code adheres to specific rules and catches potential issues, while Prettier enforces consistent code formatting.
With ESLint and Prettier configured in your development environment, you can focus on writing clean, high-quality code while enjoying automated code formatting and helpful linting feedback.
Let's get started!
Next.js 13 Setup
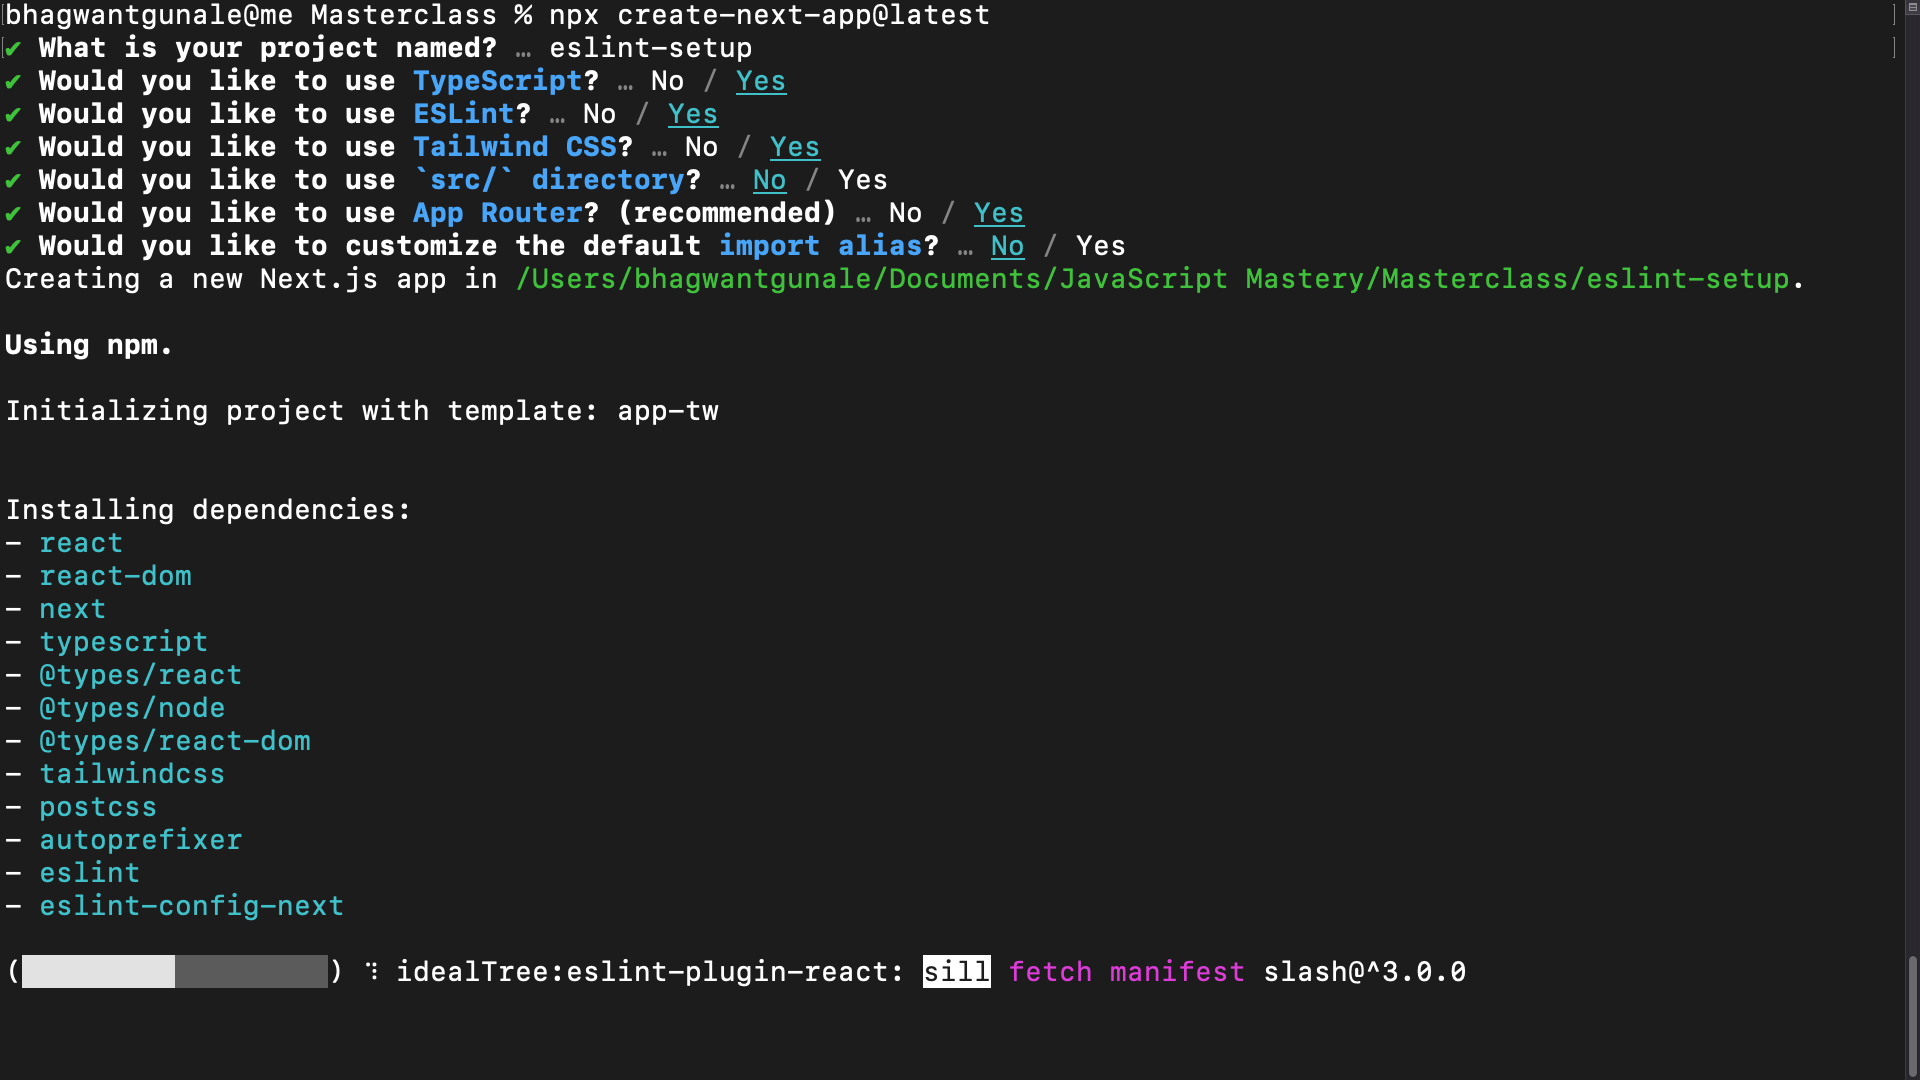
Use npx create next-app@latest. Select yes when asked about adding ESLint to your project:
Once this is done, open up the project in VSCode.
Add an ESLint Config
If you look at the .eslintrc.json file at the root of your new Next.js project, you’ll see that there is already an ESLint configuration called next/core-web-vitals and standard. It’s important to keep it. It will warn you when you write code in your Next.js project that affects core web vitals.
We still need to add another ESLint configuration for consistent code styling, as the default Next configuration doesn’t do much to help you improve the quality of your codebase.
Let’s install the standard configuration. Here are its rules.
Protip: learning the rules will allow you to improve your code quality immediately.
Now, run:
npm install eslint-config-standardThis will install the standard ESLint configuration in your project. Then, add it to your .eslintrc.json file:
{
  "extends": ["next/core-web-vitals", "standard"]
}
Testing ESLint in the Terminal
Now that we have added a new ESLint configuration let’s run it with
npm run lint to ensure it’s working. Later on, I’ll show you how to get it to work in VSCode automatically as soon as you save a file.
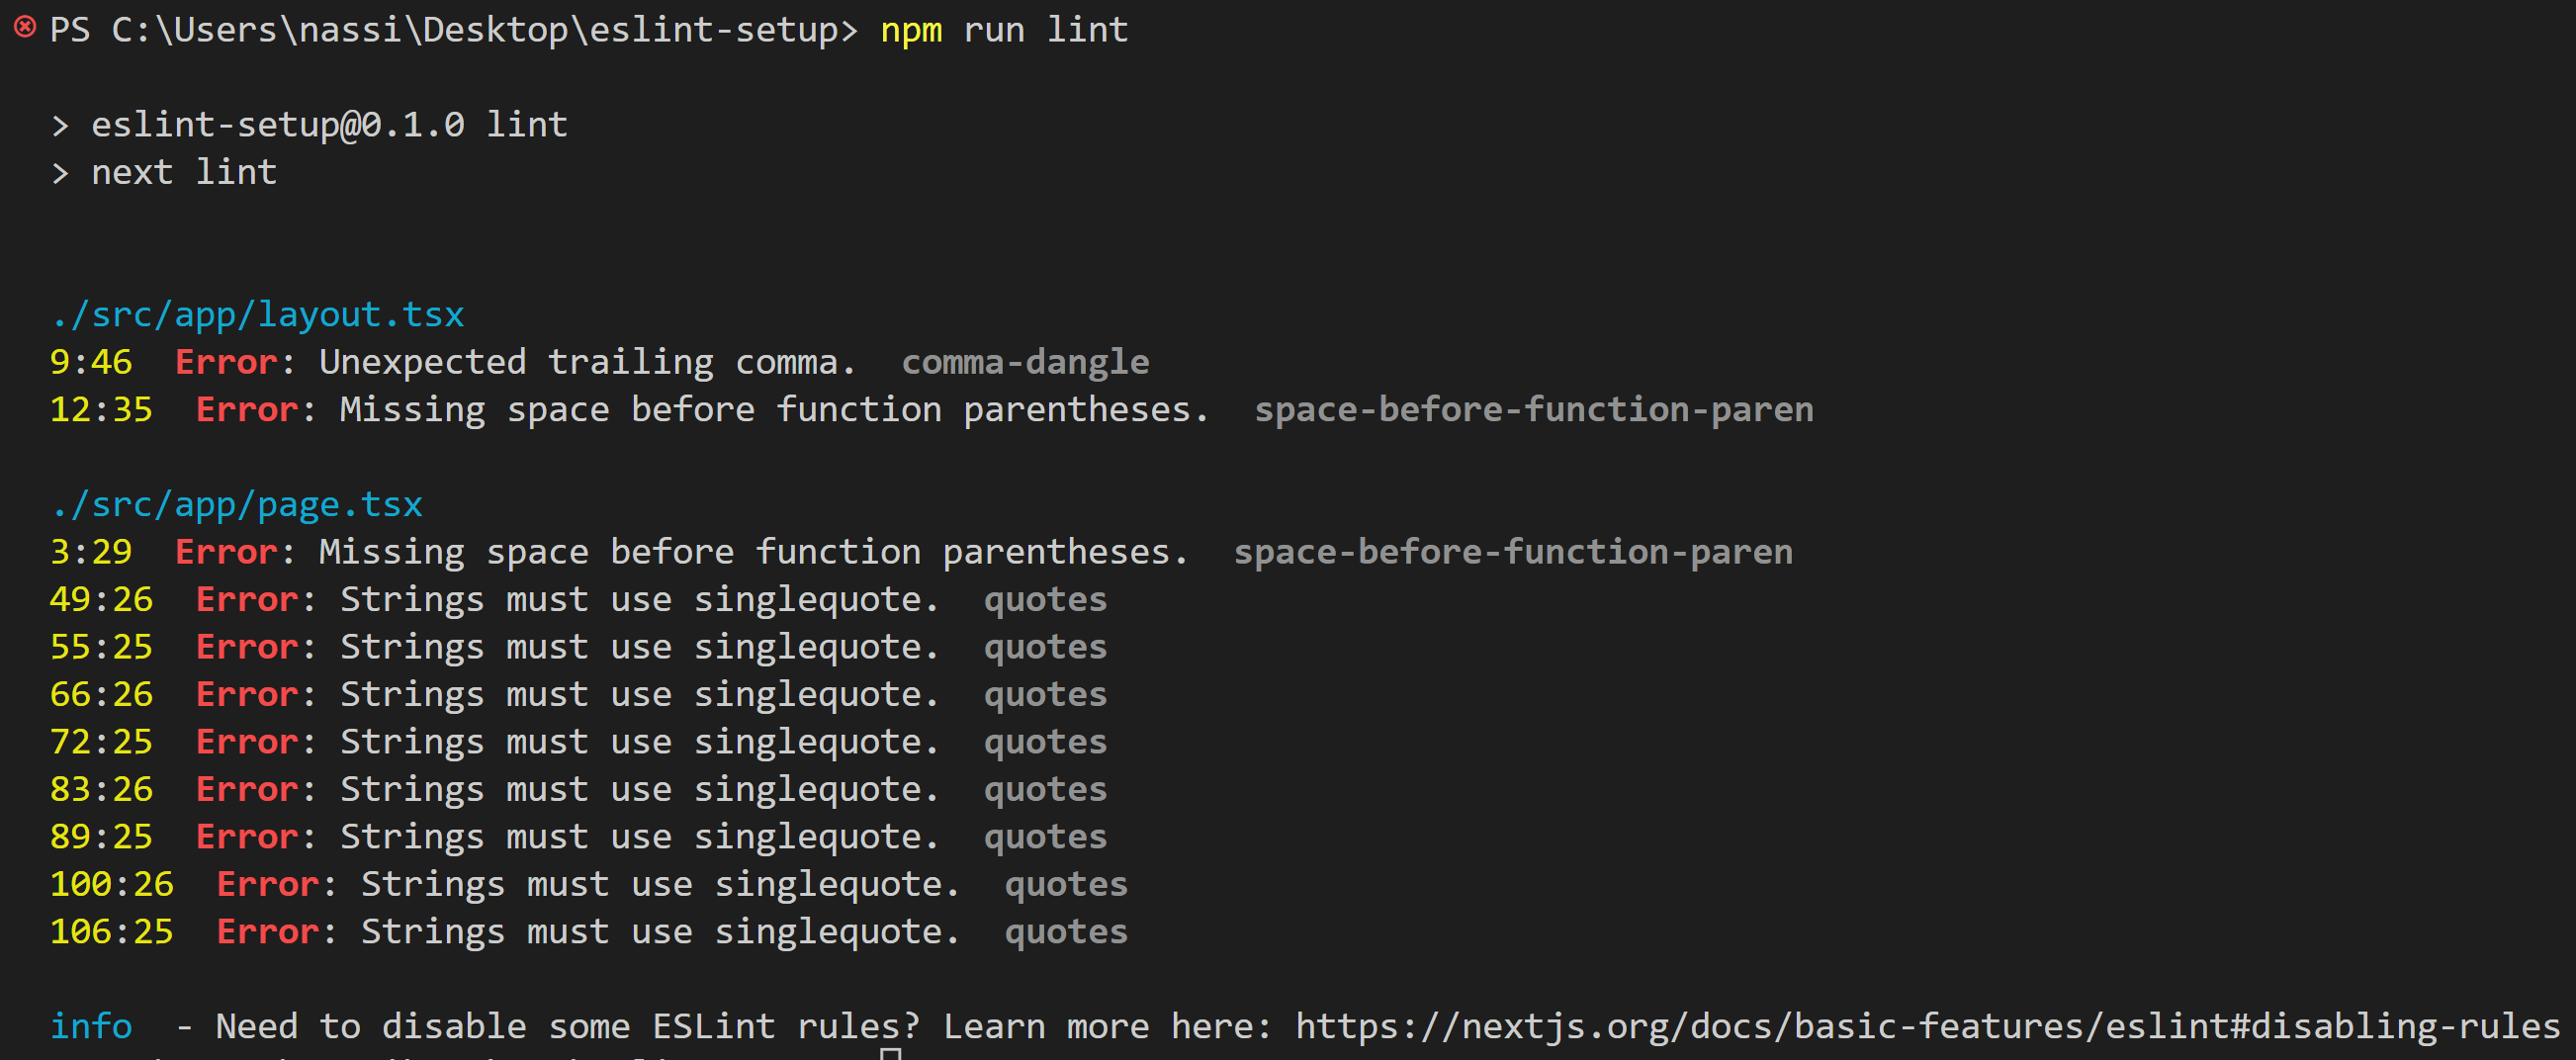
Here you see a bunch of errors. Exactly what we needed 😅.
For example, the standard code style wants us to use single quotes rather than double quotes for strings.
Adding an ESLint Configuration for TailwindCSS
Having our class names organized logically in Tailwind makes the code easier to read and review. We can install another ESLint config that takes care of that to do this automatically. Run:
npm install eslint-plugin-tailwindcss and add it to your .eslintrc.json file like this:
{
  "extends": ["next/core-web-vitals", "standard", "plugin:tailwindcss/recommended"]
}
Prettier VS ESLint potential conflicts
ESLint sometimes likes to enter into conflict with Prettier. 🥊
To avoid these situations, you should run:
npm install eslint-config-prettierThis will install a package that removes all ESLint rules that could conflict with Prettier. Once installed, add “prettier” to your .eslintrc.json file.
{
  "extends": ["next/core-web-vitals", "standard", "plugin:tailwindcss/recommended", "prettier"]
}
Install Prettier
Don’t forget to install prettier before proceeding; otherwise, things will not work, and you won’t know why. 🤷
Run:
npm install prettierSetting things up for VSCode
Now that everything is set up command-line-wise, it’s time to integrate ESLint and Prettier with VSCode. For that, we will need to modify the settings.json file or create a config specific to our project that you can share with others if you’d like. We’ll go with the latter.
In your Next.js project at the root, create a .vscode folder and within it a settings.json file with the following code:
{
  "editor.defaultFormatter": "esbenp.prettier-vscode",
  "editor.formatOnSave": true,
  "editor.codeActionsOnSave": {
    "source.fixAll.eslint": true,
    "source.addMissingImports": true
  },
  "[typescriptreact]": {
    "editor.defaultFormatter": "esbenp.prettier-vscode"
  }
}
This sets up ESlint and Prettier to work within VSCode. Every time you hit save, both Prettier and ESLint will run. But to test it in action, there’s one final thing we have to do…
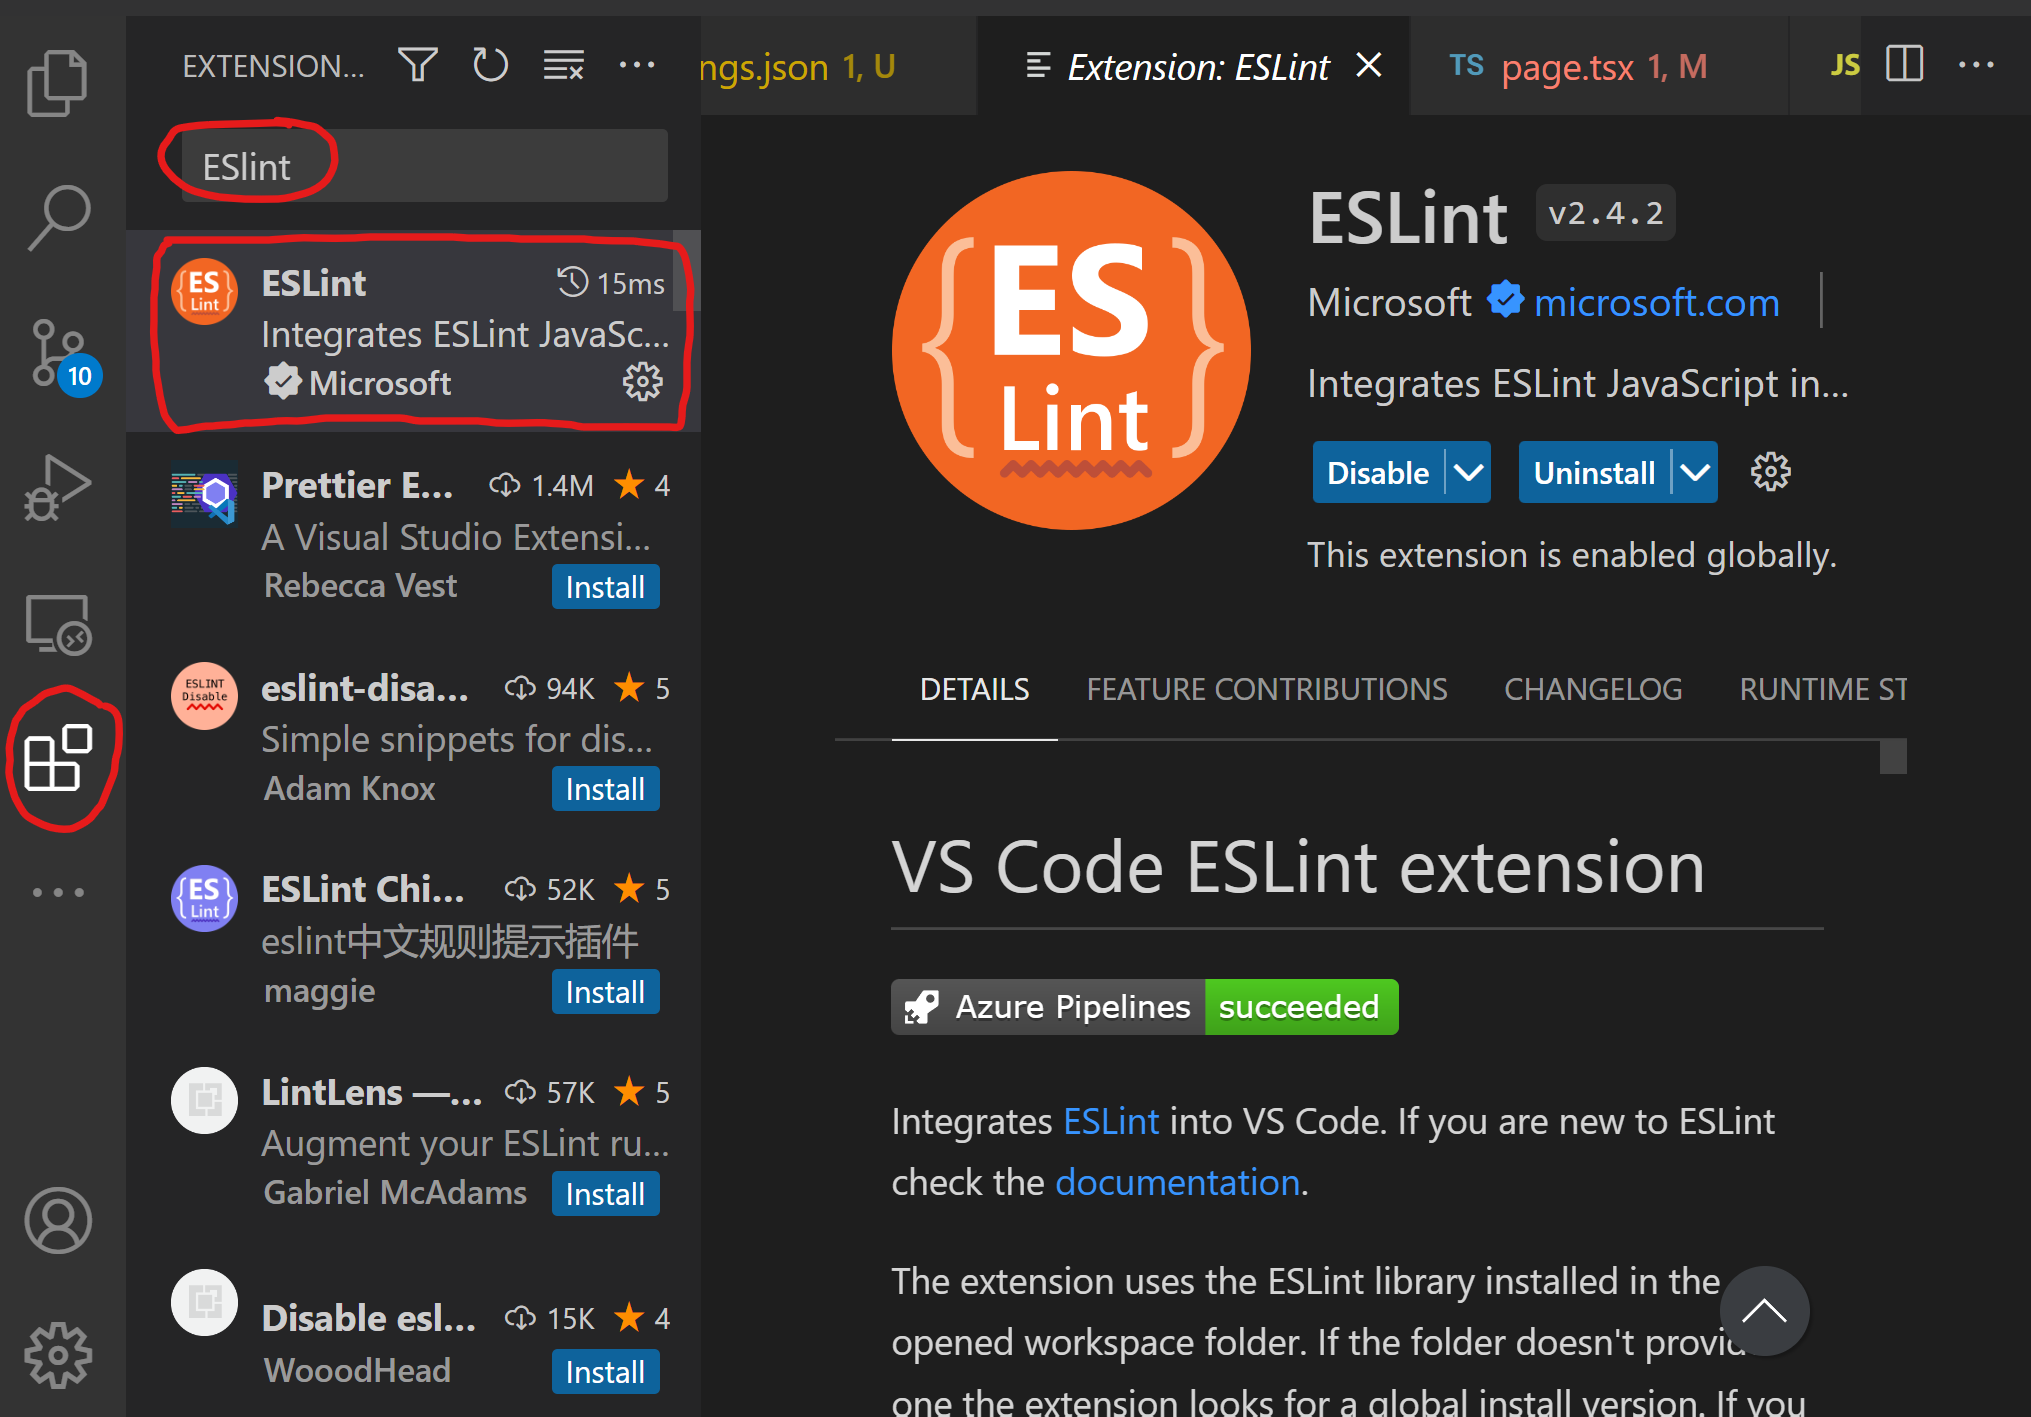
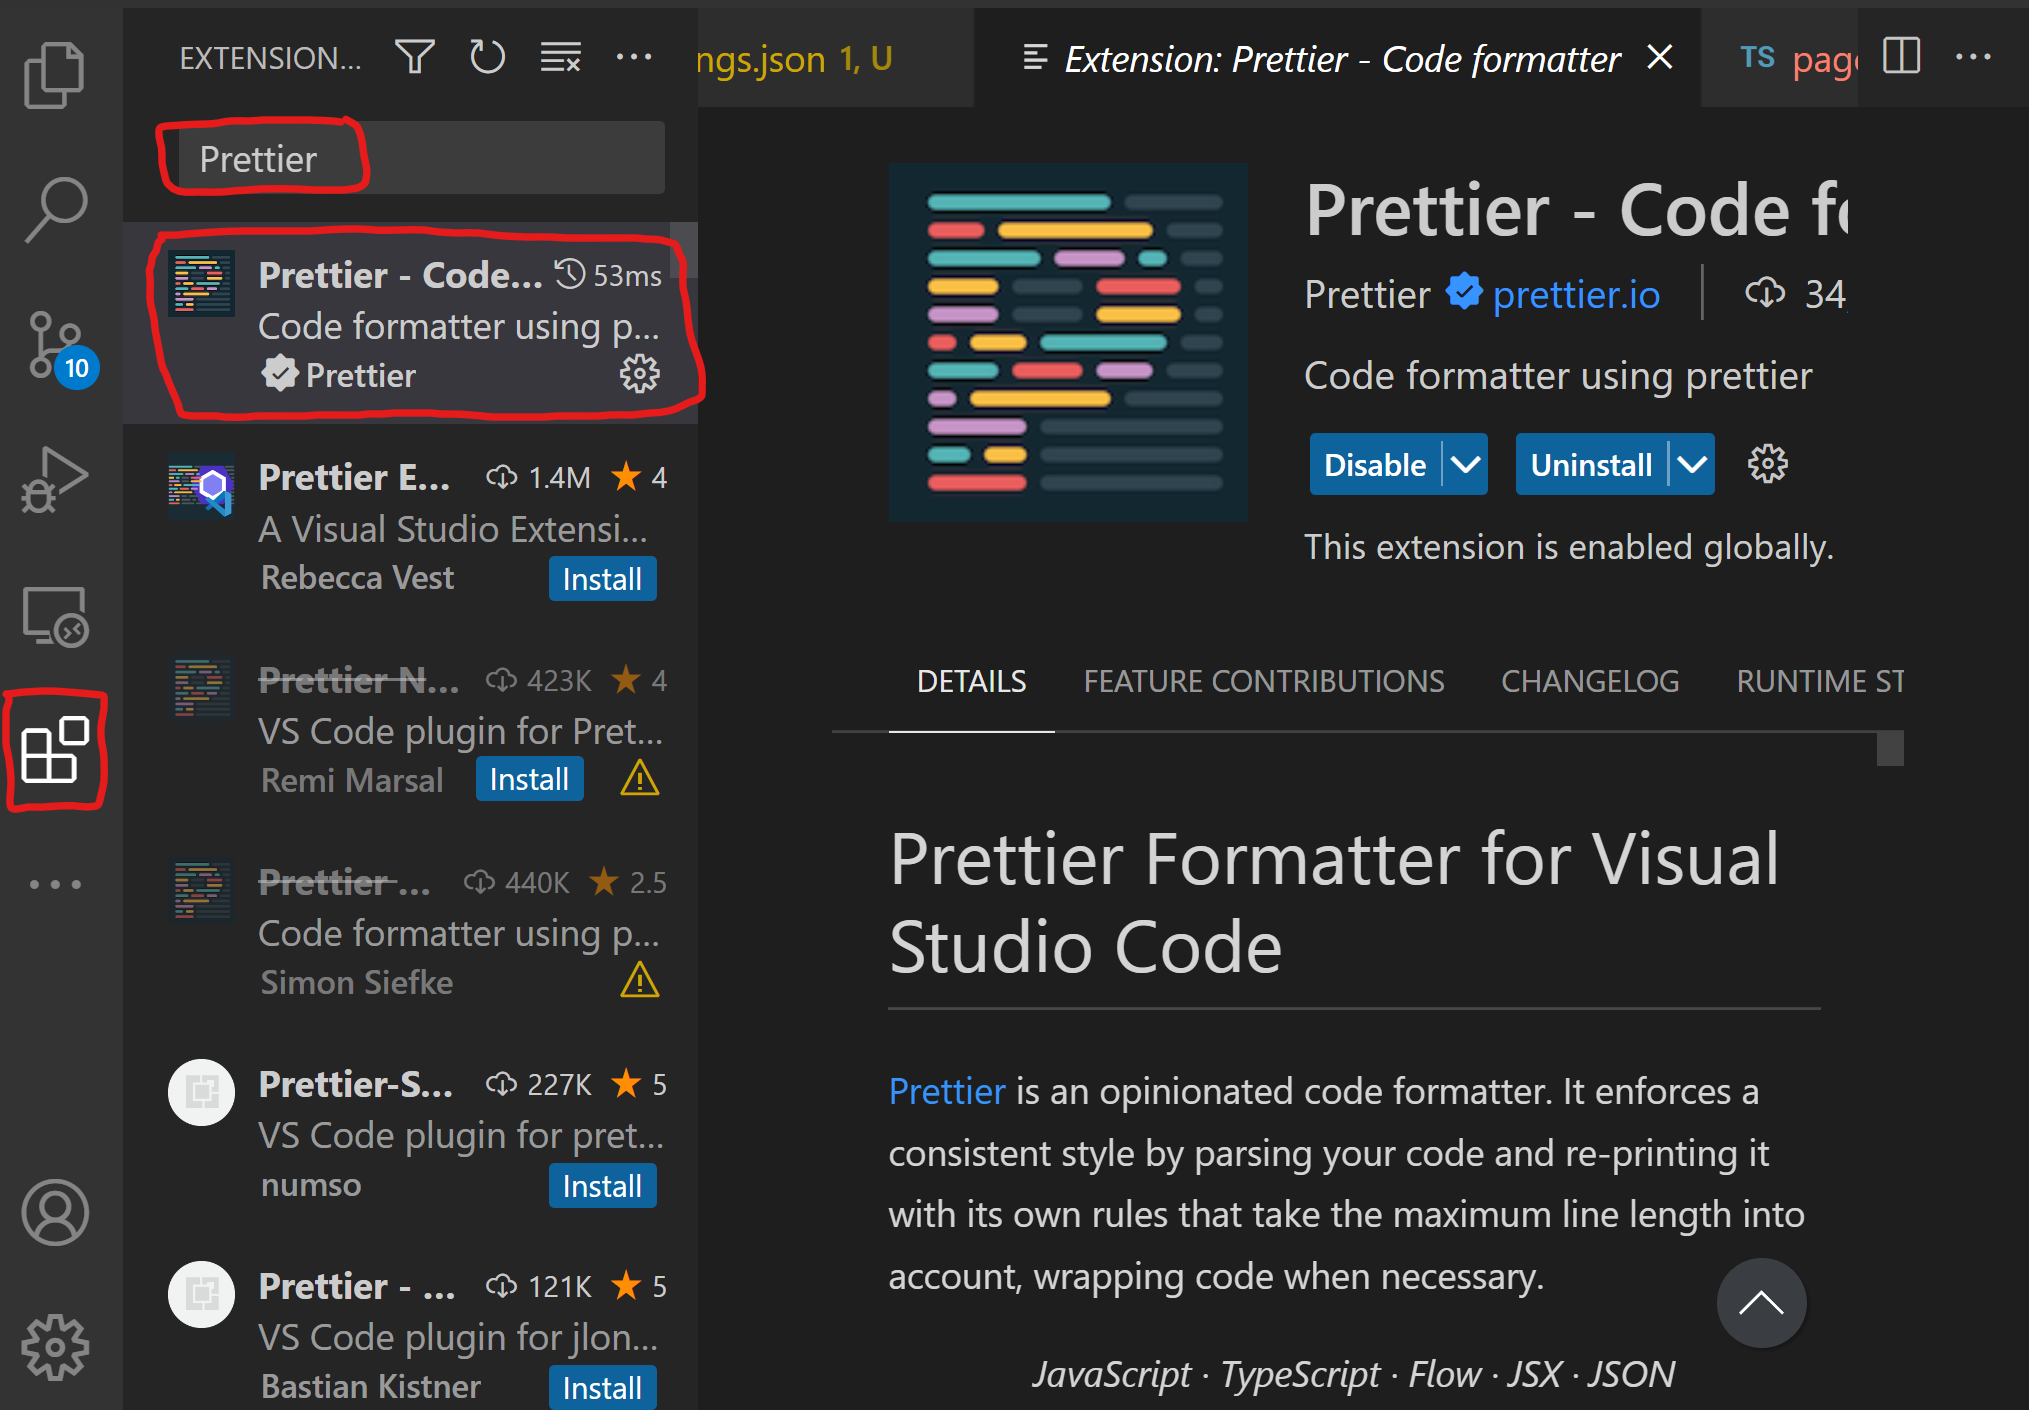
Install ESLint and Prettier from the Extensions Marketplace
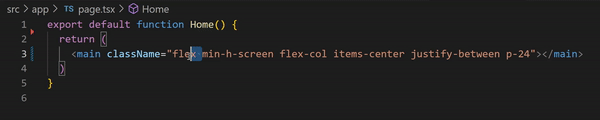
Once both are installed, restart your Visual Studio Code. Now try to edit and save some files. You should see that Prettier and ESLint are now working. To test that the Tailwind CSS plugin is also working. Try to put flex class names as the last class member and see if it is returned to the front when saving.
Conclusion
You can finally start working on your project rather than pulling your hair out with configurations. 😄
React.js Setup
Start a React project by running the following command in your terminal npm create vite@latest. Select React and TypeScript when asked. cd into the project, run npm install and finally, open the project in VSCode. By default ESLint is included in the Vite project so you don’t have to reinstall ESLint.
- Remove the
.eslintrc.cjsfile at the root of the project and replace it with a.eslintrc.jsonfile with the following content:{ "env": { "browser": true, "es2021": true }, "extends": [ "standard", "plugin:react/recommended", "plugin:tailwindcss/recommended", "prettier" ], "parserOptions": { "ecmaVersion": "latest", "sourceType": "module" }, "plugins": ["react"], "rules": {} }
- Install the required packages
npm install eslint-config-standard eslint-plugin-tailwindcss eslint-config-prettier- eslint-config-standard is a package for enforcing the standard coding style. Look at the rules here.
- eslint-plugin-tailwindcss is a package for enforcing logical ordering of Tailwind CSS classes.
- eslint-config-prettier is a package to avoid conflict sbetween ESLint and Prettier.
- Install prettier with
npm install prettier.
- Set VSCode to work with ESLint and Prettier.